Smoked Salmon Alfredo

Smoked Salmon Alfredo

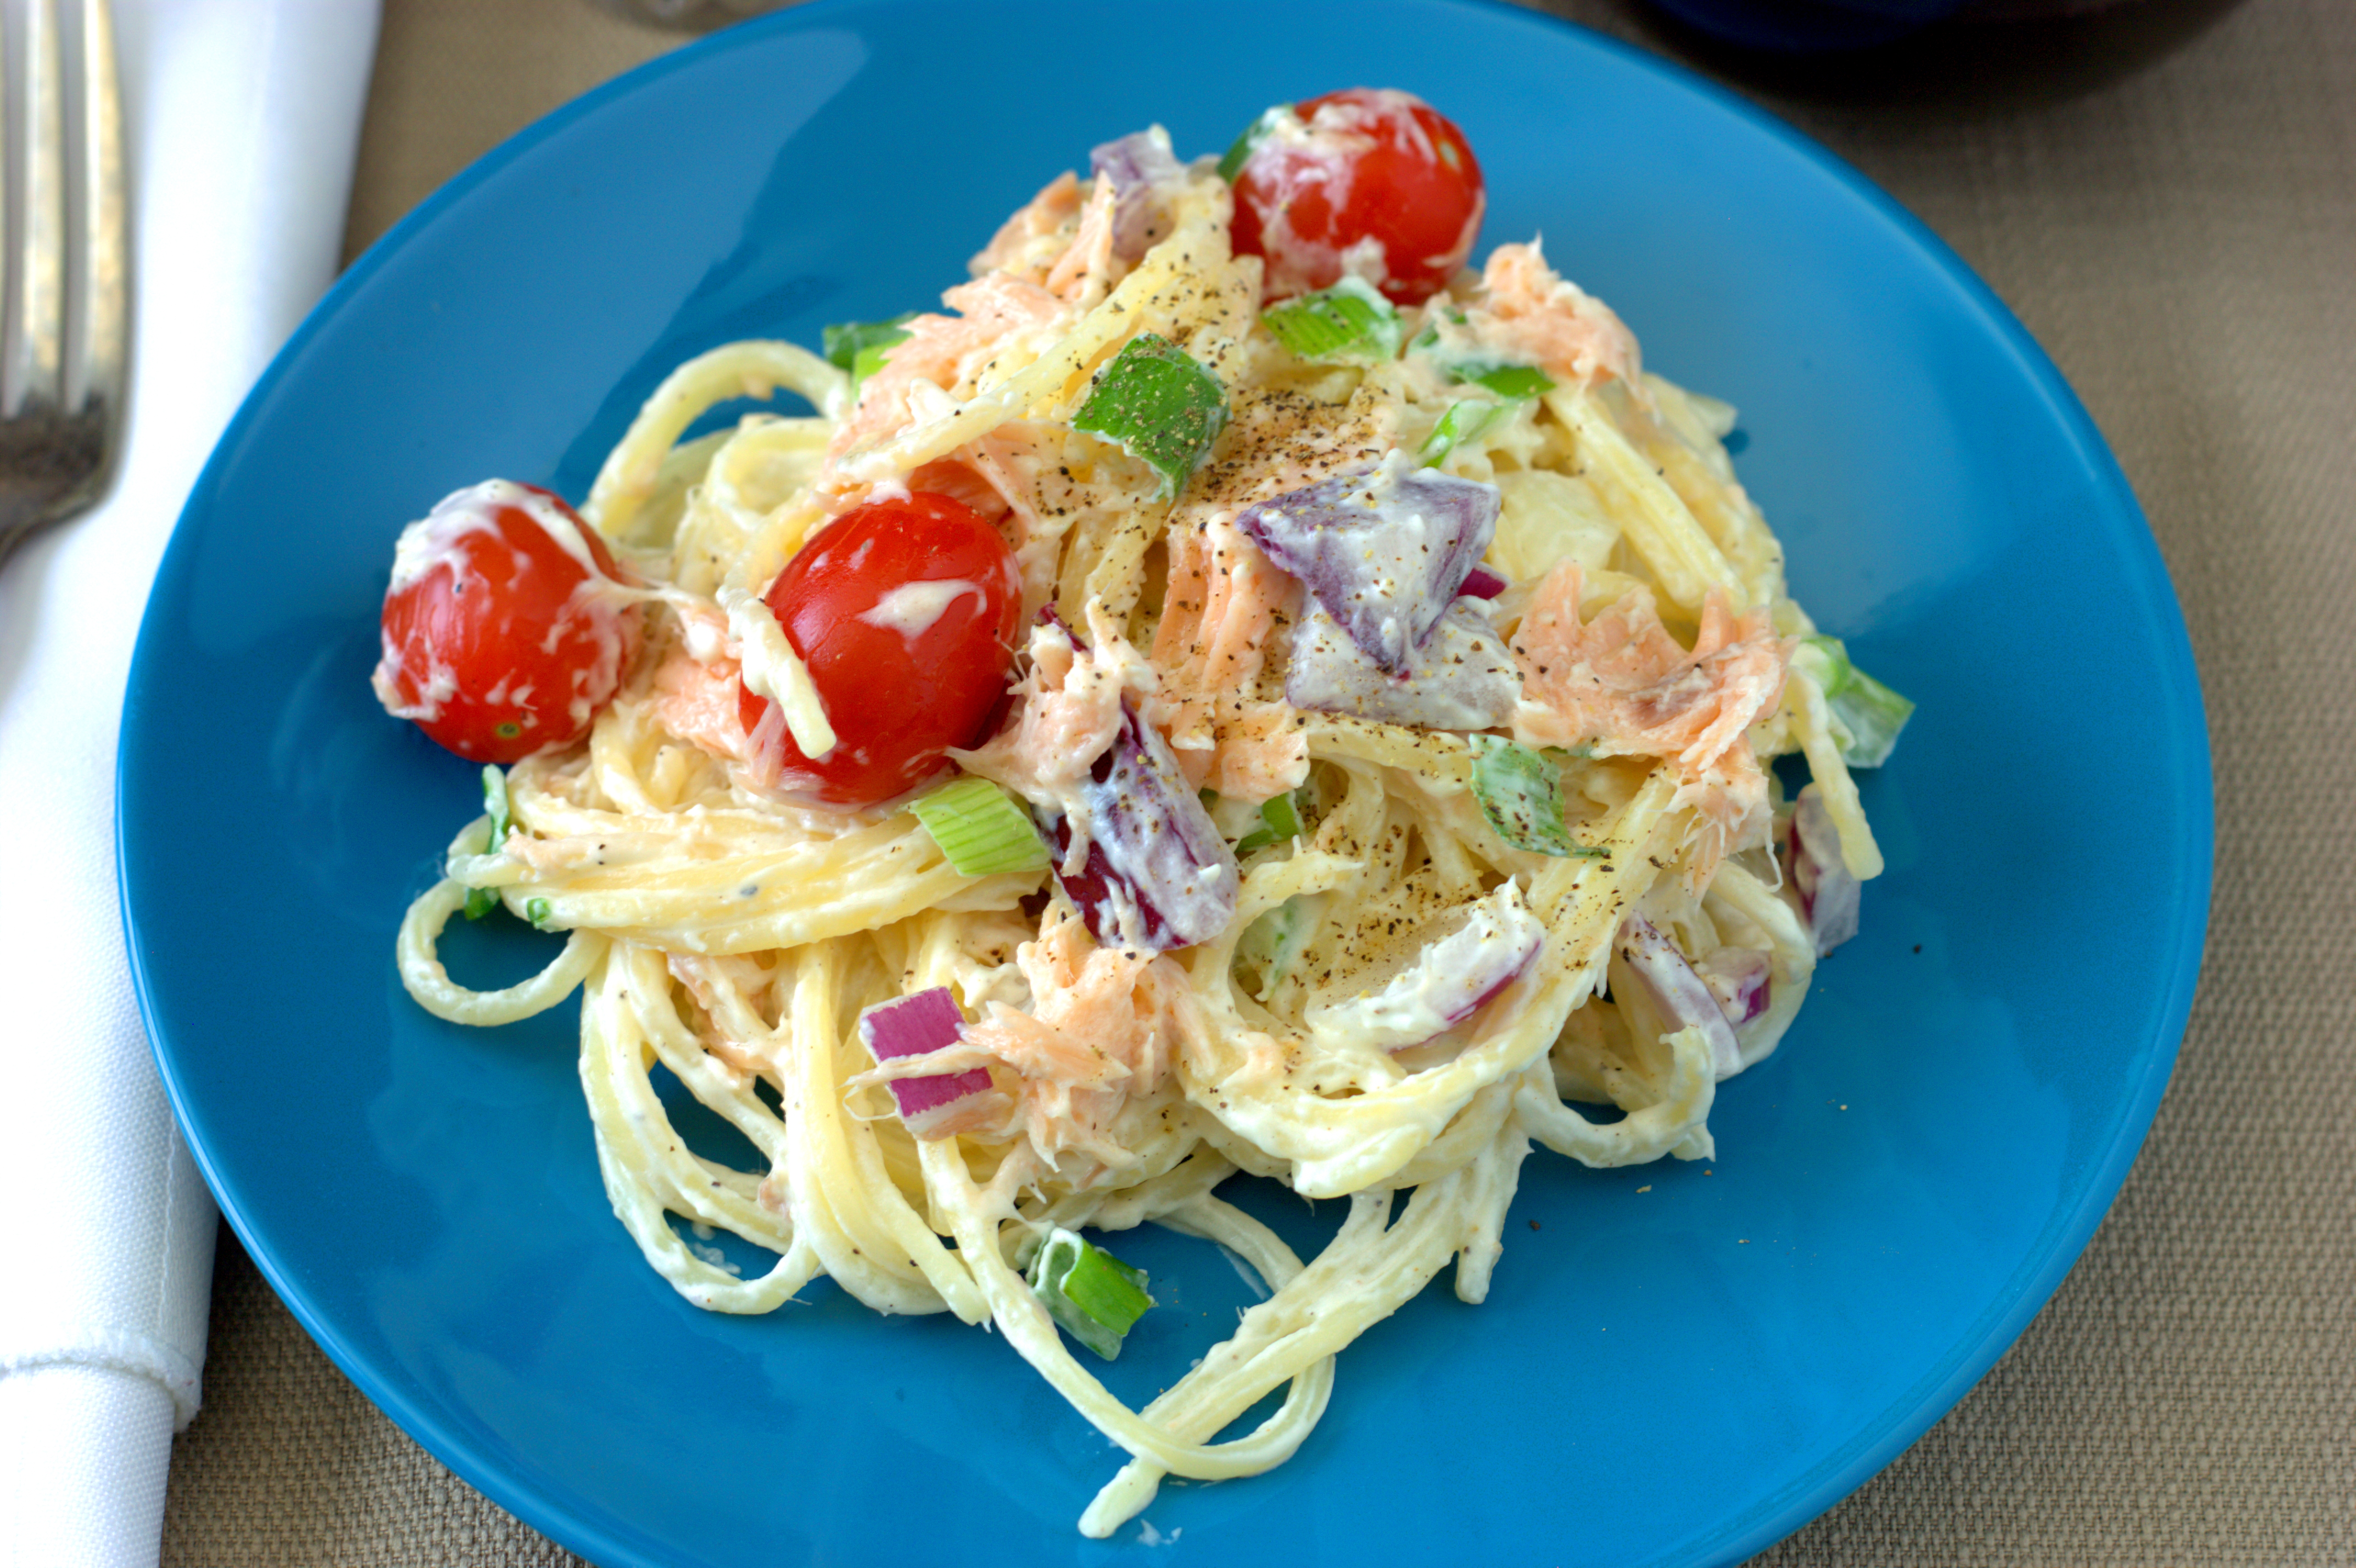
This week I had a taste for lox and all of the typical accompaniments – tomatoes, cream cheese, onions, etc.  But instead of making a breakfast spread, I turned it into a Smoked Salmon Alfredo. 

Smoked Salmon Alfredo

The cream cheese was blended into a smooth sauce for spaghetti, which served as the base for my other mix-ins.  The star of the entree is the smoked salmon, which is broken into chunks and scattered through the dish. Even my husband (who isn’t super fond of a pasta-seafood combo) loved it. I hope you enjoy this spin on a classic just as much!

smoked salmon alfredo


Smoked Salmon Alfredo

8 ounces cream cheese
4 ounce half and half
1 lb spaghetti
8 ounces baby tomatoes
½ teaspoon salt
½ teaspoon black pepper
½ cup diced green onions
½ cup diced red onion
6 ounces smoked salmon, broken into chunks


In a small sauce pan, place the cream cheese and half and half and simmer over medium heat until the cream cheese is melt; stirring frequently.  While the sauce is simmering, cook the pasta according to package directions. During the last minute of pasta cooking, add the tomatoes to the water with the pasta.  Drain the pasta and tomatoes and add to a large bowl.  Stir the salt and pepper in to the cream sauce, and pour the sauce over the pasta and stir to coat.  Add the green onions, red onions, and smoked salmon to the pasta, stir to evenly mix and serve.

(185)

three bean salad

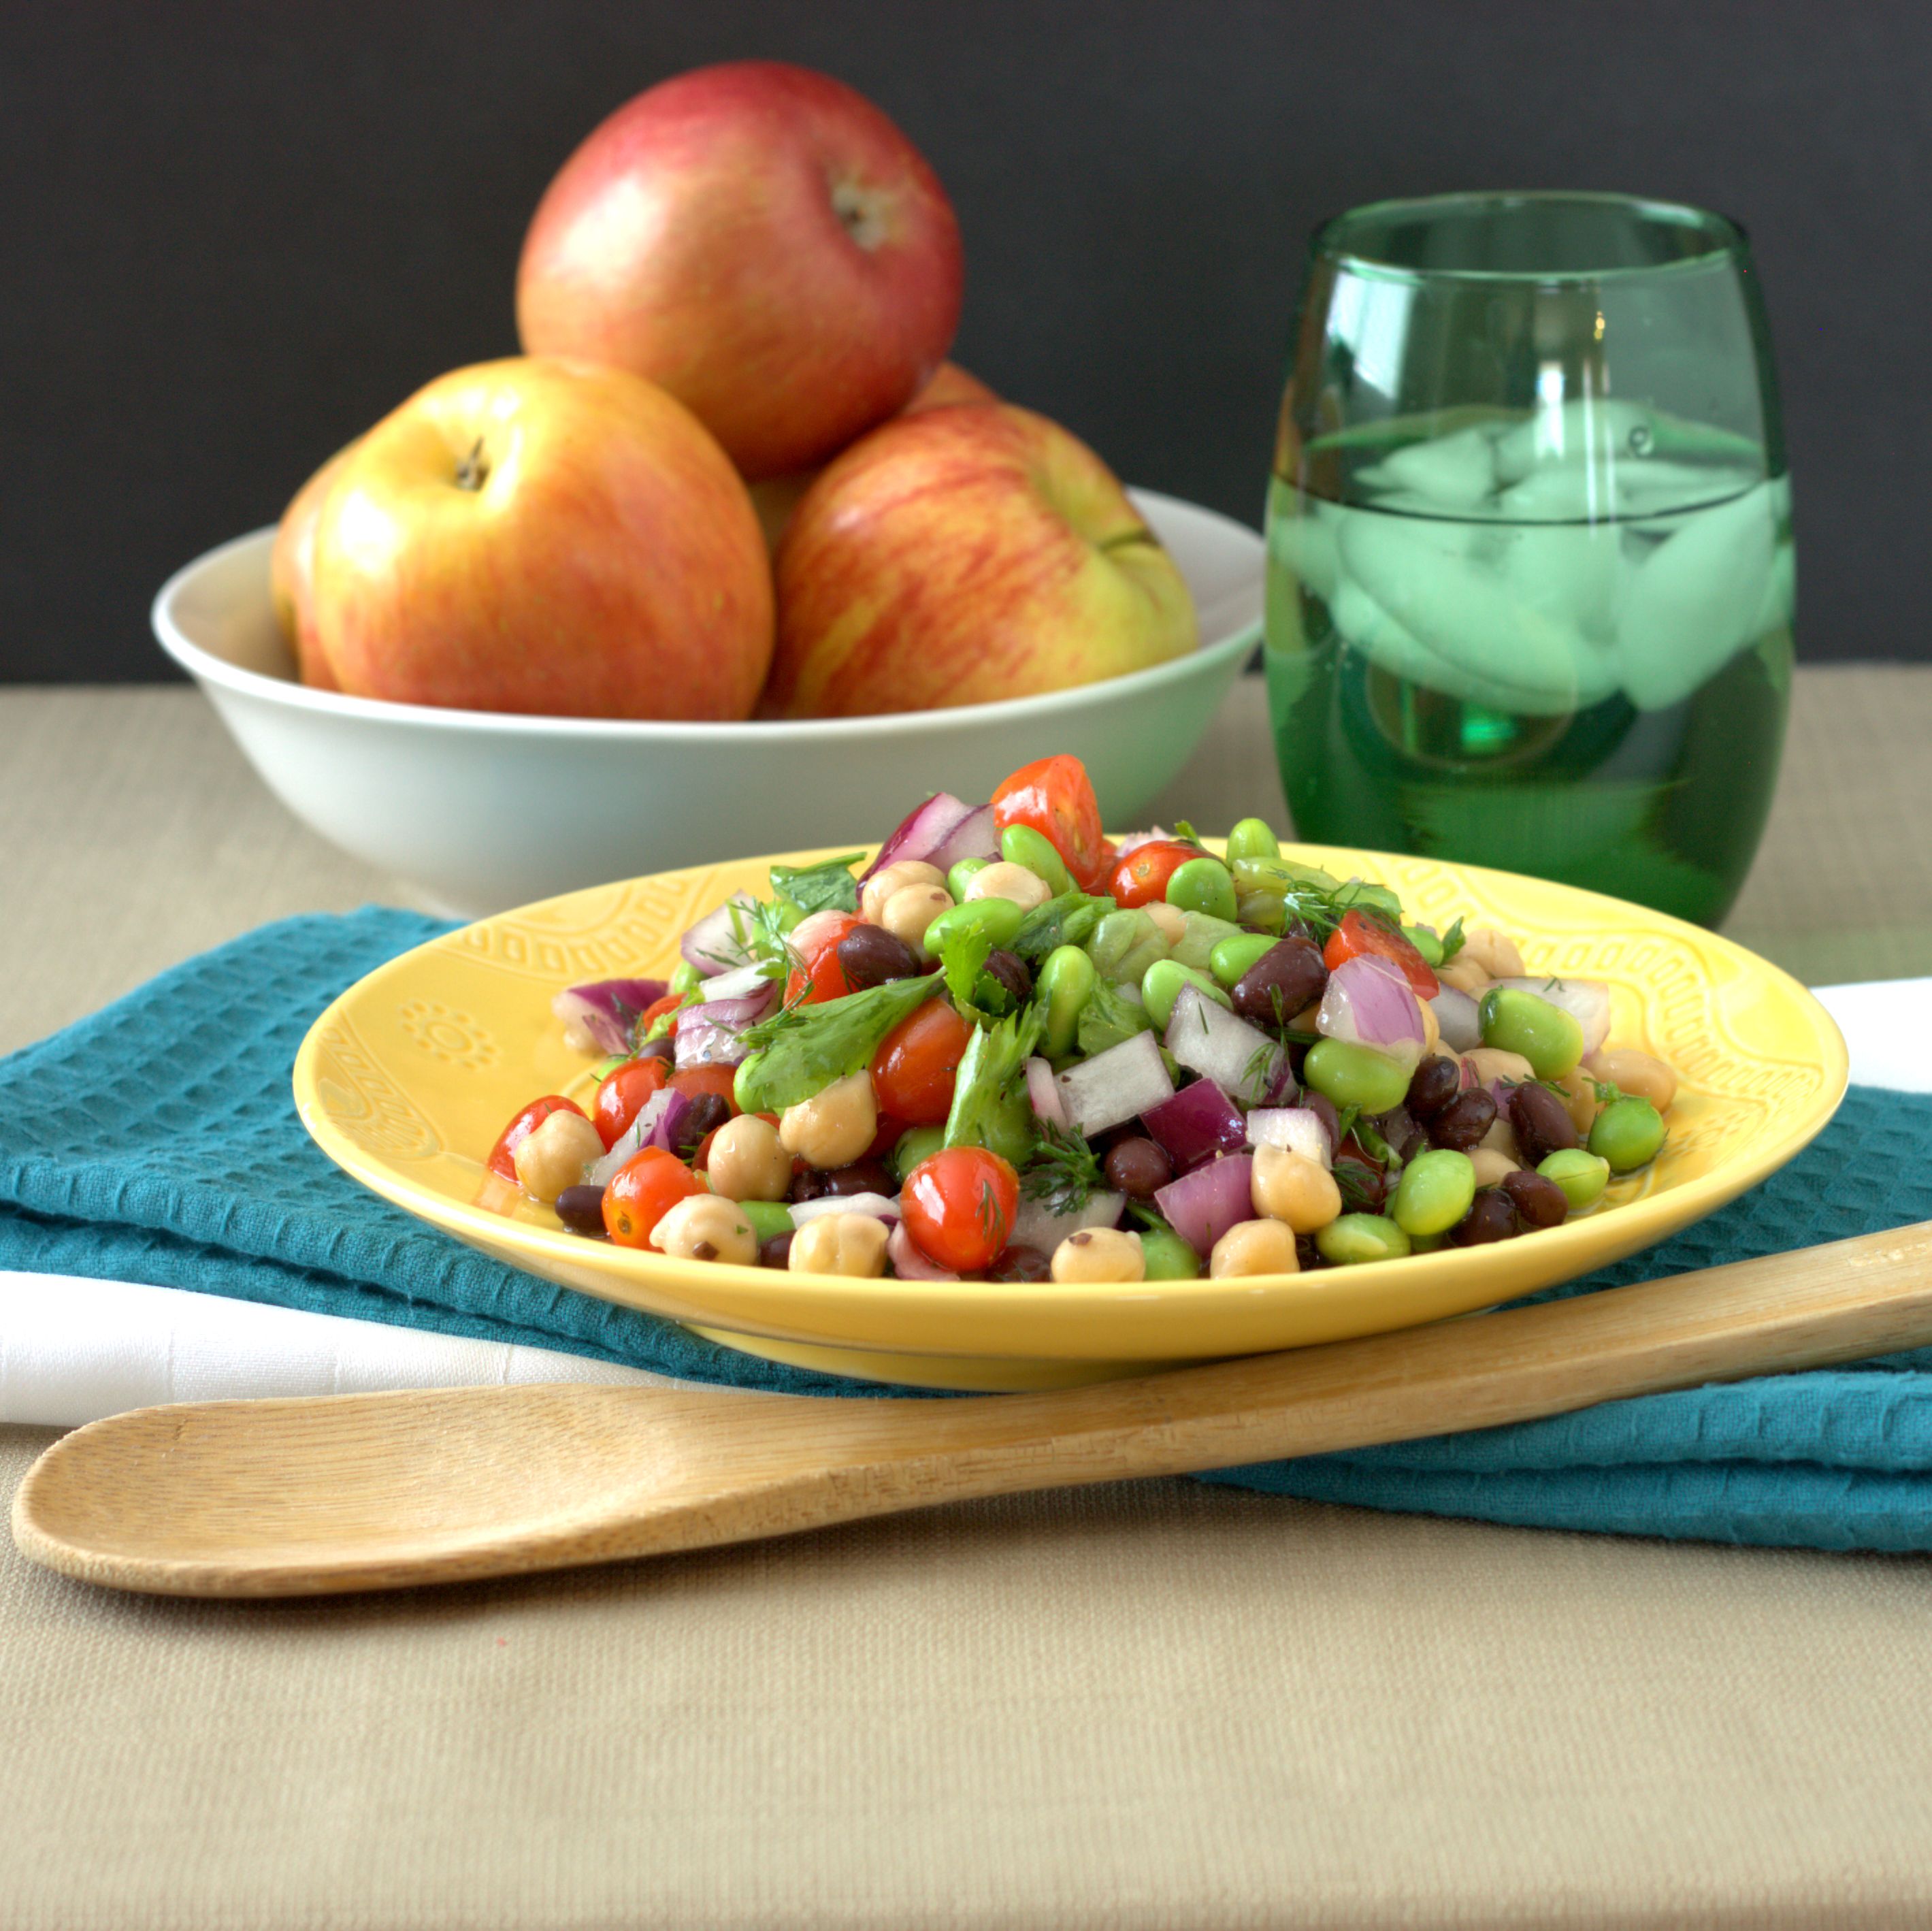
Three Bean Salad (a.k.a. Super Salad)

Today’s Three Bean Salad is a husband-inspired dish.  In fact, it is what he calls “super salad” a mix of good-for-you greens, beans, and other super foods.  It is his favorite way to boost his veggie and protein intake at lunchtime, often adding this salad over a bed of mixed greens and topping with a packet of tuna.  I can’t deny that it is a great lunch and I LOVE that he gets the kids to eat it for lunch as well.

three bean salad

three bean salad

If you are looking for a great way to jumpstart an eating healthier resolution, let’s review just some of the super powers of this Three Bean Salad:

  • Edamame, garbanzo beans, and black beans: Good sources of fiber, protein, calcium, and iron
  • Tomatoes: Good source of lycopene, and vitamins A & C
  • Red onions, Dill, Parley, and Lemon Juice: great sources of flavonoids
  • Garlic: considered “anti-cancer”, and “anti-inflammatory” among a long list of other benefits

We often swap in and out other good for you veggies and herbs, while keeping the beans as a base.  For example, we have been known to stir in avocado, green onions, or apples at times.  I hope this recipe inspires you to create your own super salad.

three bean salad

Three Bean Salad (a.k.a Super Salad)

1 1/2 cups frozen, shelled edamame
1 cup canned garbanzo beans, drained and rinsed
2 cups baby tomatoes, chopped
1 cup diced red onion1 cup canned black beans, drained and rinsed
4 tablespoons fresh dill, chopped
4 tablespoons fresh flat leaf parsley, chopped
¼ cup lemon juice
½ cup olive oil
1 tablespoon honey
½ teaspoon freshly minced garlic
¼ teaspoon salt
¼ teaspoon black pepper
 

Cook the edamame according to the package directions, then drain and add to a large bowl along with the garbanzo beans, tomatoes, black beans, onion, dill, and parsley.  In a small container, mix together the lemon juice, olive oil, honey, garlic, salt and pepper until well blended.  Pour the dressing over the beans and stir to coat.  Refrigerate until ready to serve.

(292)

Healthy Solutions Spice Bends Challenge: Steak & Mushroom Frittata

The first recipe contest I have entered this year is the Healthy Solutions Spice Blends Recipe Challenge.  As a busy, working mom I love the added time-saving feature of premixed spice blends.  With over 15 spice blends to chose from, you are sure to find something your family will enjoy – even those on a low salt or low sugar diet.

It was tough to decide which spice blend to feature, but I ultimately selected the Bold Beef Rub since my mouth watered just thinking of all the new recipes I could create.

My Steak & Mushroom Frittata uses the Bold Beef Rub in two places – as a coating on the skirt steak pieces before they are sauted and as the flavoring in the eggs.

steak-frittata-4

This one-pan breakfast dish is a sure crowd pleaser! The robust flavor of the Bold Beef Rub added great depth to the frittata, and the generous portion of mushrooms and other vegetables made the dish seem hearty without making it too heavy. I’m sure that once you try this steak & mushroom frittata you’ll be tempted to try all of the Healthy Solutions spice blends!

steak-frittata-2


Steak and Mushroom Frittata

6 large eggs

1/8 cup half & half

2 teaspoons Healthy Solutions Bold Beef Rub, divided

2 tablespoons unsalted butter

½ lb skirt steak, cut into bite sized pieces

½ lb baby Portobello mushrooms, diced

10 grape tomatoes, diced

½ cup diced green onions

1 ½ cups shredded Swiss cheese (6 ounces)


Preheat the broiler. In a medium sized bowl, whisk together the eggs, half & half, and 1 teaspoon of the Bold Beef Rub; set aside. In a separate bowl, sprinkle the remaining Bold Beef Rub over the skirt steak pieces and toss to coat.

Melt the butter in a large (12-inch) cast skillet over medium heat. Add the steak and cook, turning often, until the pieces are evenly browned and the meat cooked to medium, about 2-3 minutes. Remove the steak from the skillet and let rest on a plate, meanwhile add the mushrooms to the skillet and saute until browned and reduced in size, about 4 minutes. Return the steak to the pan, then add the diced tomatoes and green onions in an even layer. Pour the egg mixture over the steak mixture and then evenly top with the cheese. Cook over medium-low heat until the sides are set but the top is still runny, about 3-4 minutes. Place the skillet under the broiler and cook for another 3-4 minutes or until the eggs are set, puffed, and slightly browned. Remove from the oven and serve immediately.


(911)

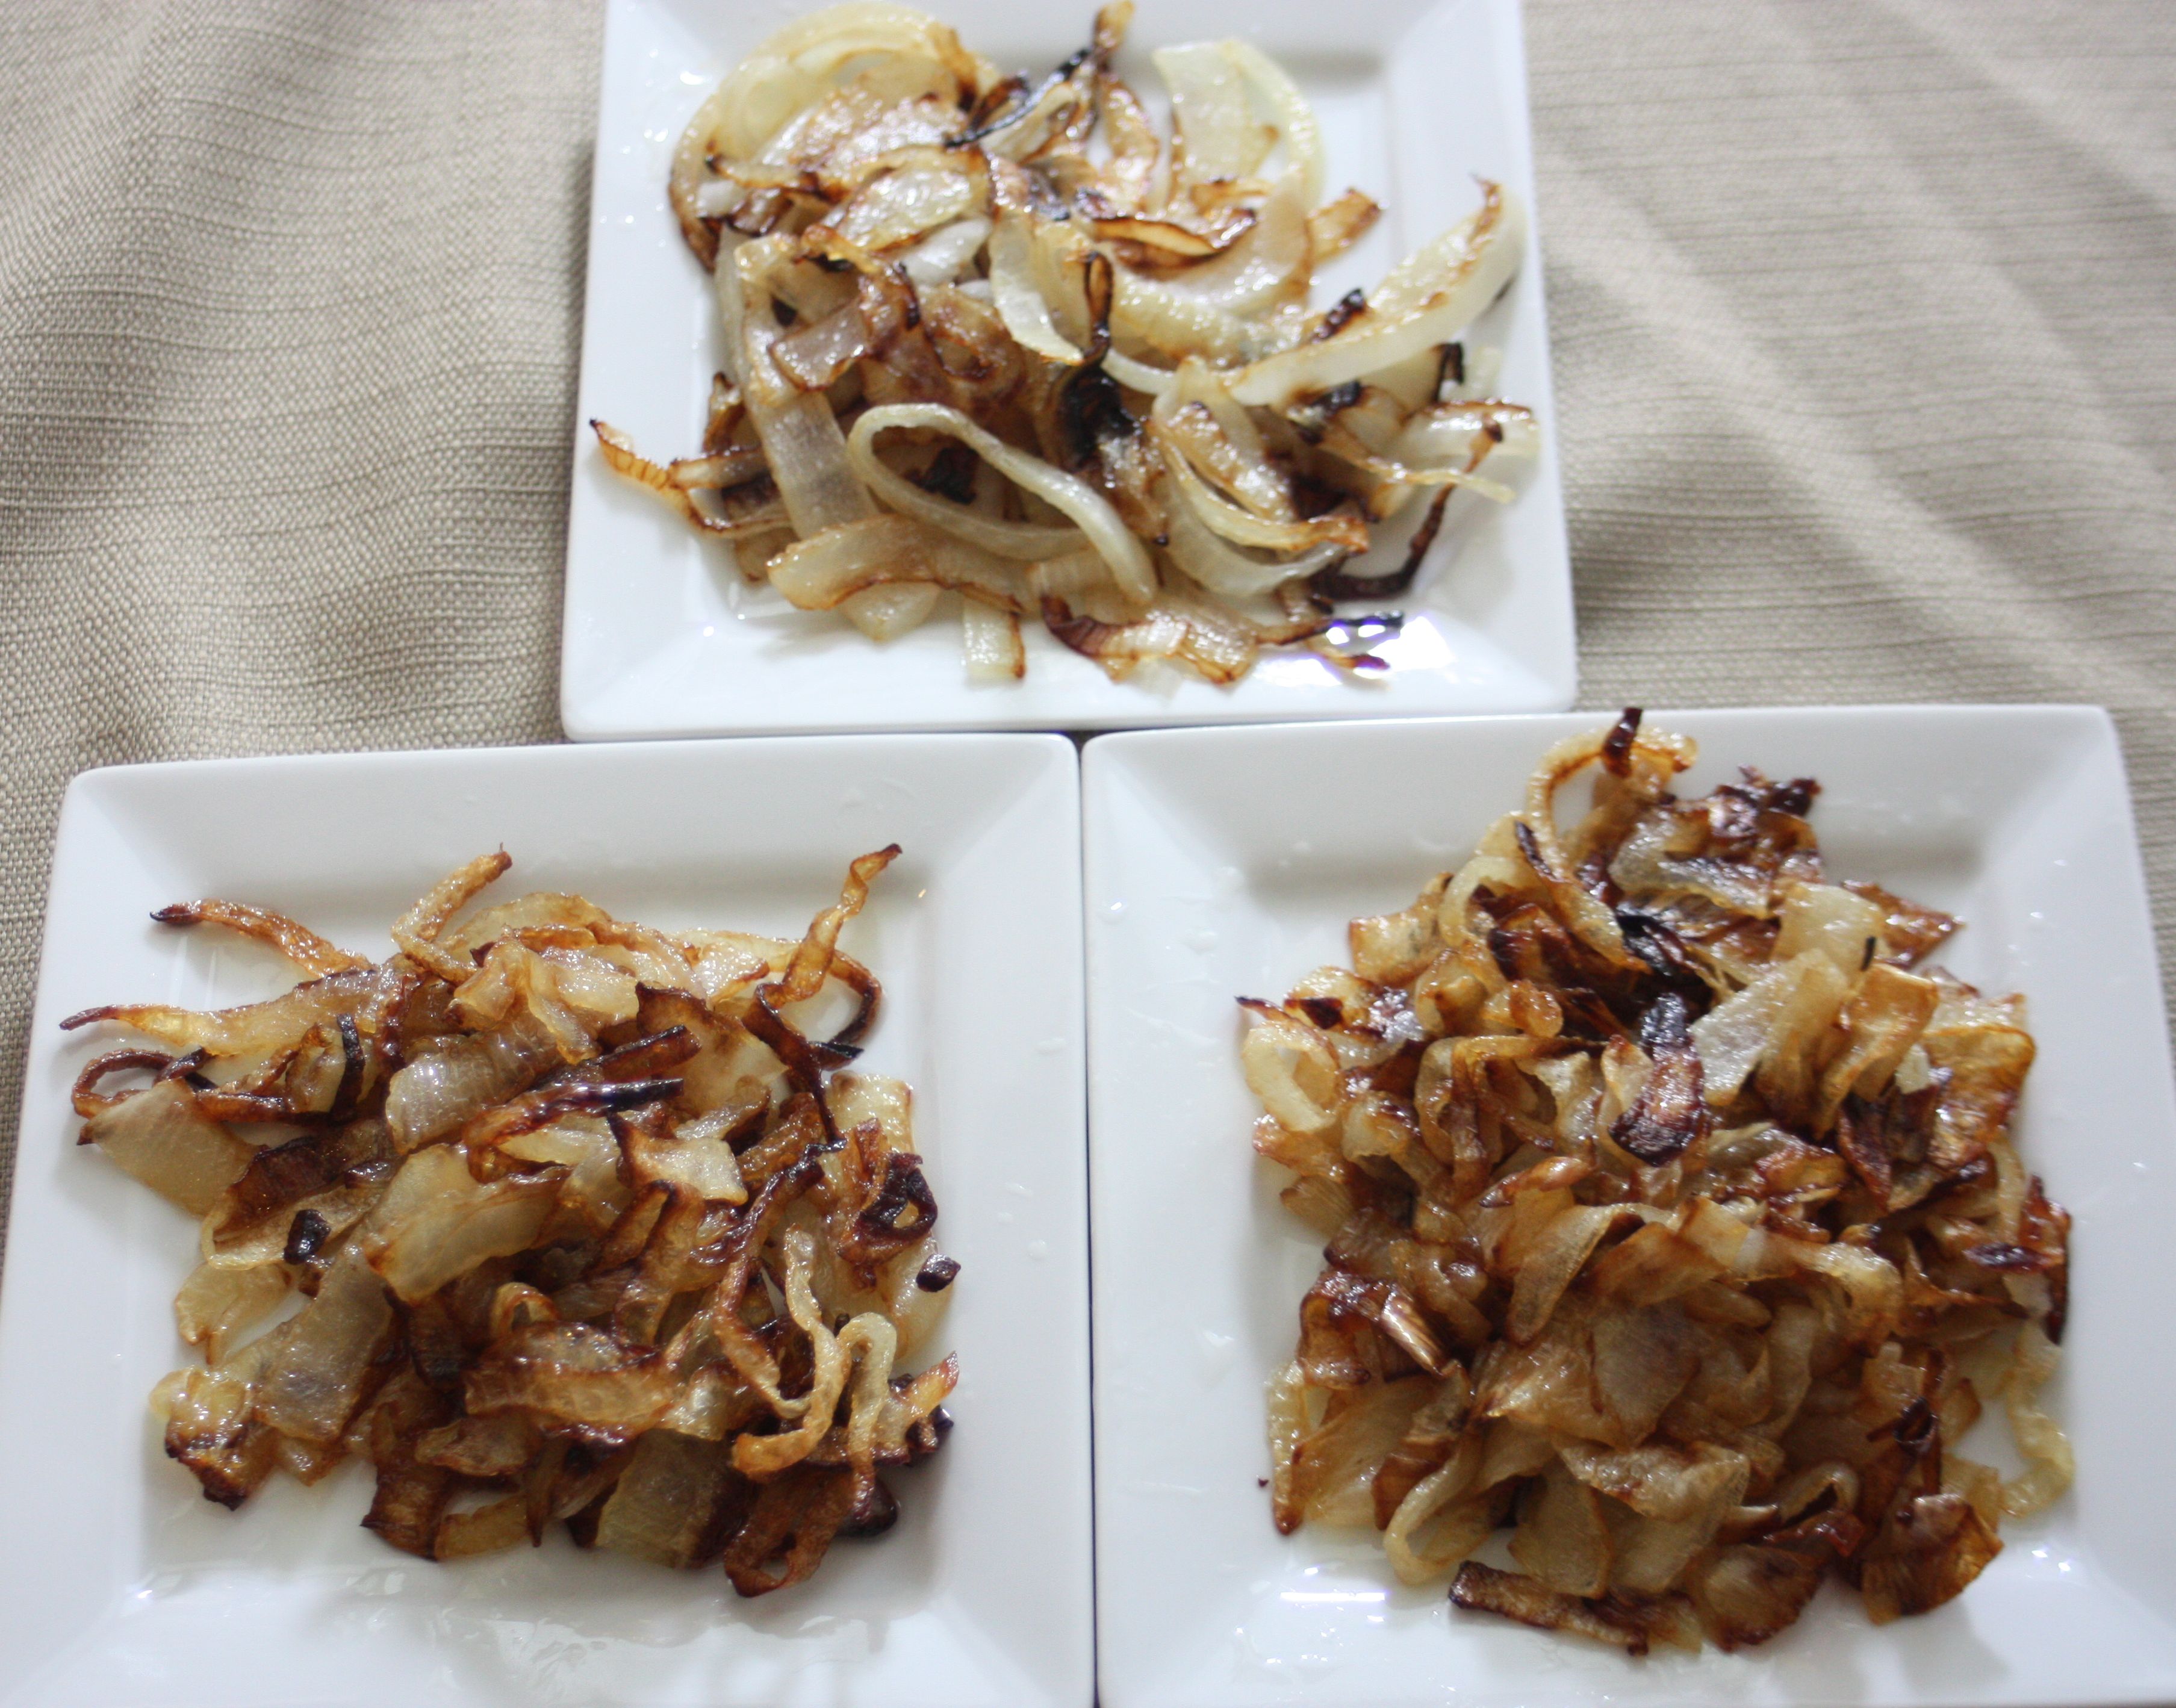
Perfectly Caramelized Onions – An Experiment

Caramelized onions are a food item that can make nearly any dish better. I love to stir them into eggs and dips, or add then as a topping to steak, burgers, or pizza, just to name a few uses.

The key to perfectly caramelized onions is the old mantra – Low & Slow – which means cooking the onions over low heat, and stirring them often for approximately 30-40 minutes. This allows some of the water to escape from the onions first, softening them, and then lets the sugars in the onions reach the correct temperature for the Maillard reaction to take place, browning the onions and adding complex flavors.

Cooking the onions over too high of heat results in uneven cooking, but what are some other mistakes? Can a pan be overcrowd, resulting in over-steaming and not enough caramelization? Experiment time!

Experiment Objective

Determine how heat level and pan crowding affects onion caramelization.

Method 
Step 1. Yellow onions were sliced into strips, and placed into a 10 inch or 12 inch saute pan (each with 2 tablespoons of oil), with the quantity per pan as noted in Table 1. I chose yellow onions since I think they caramelize the best, which was the same conclusion made by J. Kenzi from Serious Eats in his onion experiments.

preExperiment

From left to right: Case 1, Case 2, and Case 3.

Step 2. Pans were placed on a gas stovetop and cooked at the heat level noted in Table 1.

onionsCooking

From bottom to top: Case 1, Case 2, and Case 3.

Step 3. Pans were removed from the stove when the onions were either on the verge of burning or had caramelized.

Table 1. Summary of Onion Caramelization Experiment.

CaramelizedOnionTable

OnionExp1

Results, left to right: Case 1, Case 2, and Case 3 (at 25 minutes).

As expected, the onions cooked under high heat (Case 2) were finished the fastest in only 8 minutes. However, the cooking is uneven with parts browned and almost burnt, and other parts just translucent. The result is a barely there caramelized taste.

Case 2: Uneven browning of the onions.

Case 2: Uneven browning of the onions.

Case 1, with just a little bit of onions for the pan was done in 25 minutes. The result was caramelized onions, bordering on over cooked. If I hadn’t been watching the pan carefully, I’m sure some of the pieces would have burnt due to hot spots.

Case 1: Mostly even browning.

Case 1: Mostly even browning.

Case 3 was first removed from the stove at the same time as Case 1 for comparison purposes. You can see that the onions have started to caramelize, but there are plenty of pieces that haven’t had time to brown. The onions went back to the stove (still over low heat) and fifteen minutes later they were perfect.

Case 1: Slight browning after 25 minutes of cooking.

Case 3: Slight browning after 25 minutes of cooking.

Case 3: Perfectly caramelized onions after 40 minutes.

Case 3: Perfectly caramelized onions after 40 minutes.

Hopefully the pictures convince you why “low and slow” is the best. For a 10 inch saute pan, up to 2 ½ cups can be caramelized successfully, though it will take you nearly 40 minutes to achieve the satisfyingly sweet goodness. My guess is that much beyond 2 ½ cups in a 10 inch pan would run the risk of unevenly browned onions or over steaming, though I didn’t get to that point in my experiment. Hunger won out over my curiosity this time. What surprised me the most was that the under-filled pan could be almost as detrimental as high heat to your caramelization efforts.

The best part of the experiment was getting to consume the results. I managed to restrain myself from eating them right out of the pan and instead devoured the onions served over my favorite sausage. Edible experimentation at its finest!

caramelizedOnionDinner

UPDATE:

I had a chance to add to my experiment, and this time I used my tri-ply clad stainless steel pan, which can hold a larger amount of onions since it is 12 inches in diameter and holds 5 quarts. I melted four tablespoons of butter in the pan and then added 8 cups of chopped, yellow onions. I was able to evenly brown the onions with a lot of babysitting and it only took a mere 1 1/2 hours.  By combining this with the results from before, I actually get a linear relationship between quantity of onions to caramelize and the time it takes (sorry, not enough data for error bars).  I also prefer my tri-ply pan for caramelizing onions, since it provides extremely even temperature distribution – the last photo shows how evenly golden the onions were, even with such a large quantity.

8cups_onions

OnionGraph

Another good tidbit: 8 cups of raw onions reduces to 1 cup of caramelized onions!

8cups_to1cup

(2816)