The idea to do an experiment regarding hard boil eggs was actually posed by one of my readers. She wrote:
“This past Thanksgiving my daughter’s boyfriend requested traditional deviled eggs be included as one of the appetizers. I have been buying brown, cage free eggs for the last year as I think they make tastier scrambled and other breakfast egg dishes. I have noticed that the brown eggs shells are stronger than white eggs. I hard boiled 3 batches of 6 of the brown eggs by bringing the eggs to a boil and then letting them sit for 20 minutes and then putting them in an ice bath. This is a method I have been using for about 30 years. Of the 18 hard-boiled eggs only 6 were salvageable and barely presentable for appetizers. My husband rushed to the store to get a dozen white eggs which we hard boiled using the same method with a lot more success. Do you have any suggestions on to successfully hard boiling cage free brown eggs?”
I’m sure this request would make any food blogger curious. I, too, had noticed that cage-free eggs were harder to crack (resulting in more frequent shell retrievals from eggs destined for scrambling of some sort) but I hadn’t done a side-by-side hard-boiled egg comparison. To be honest, when I make hard boiled eggs they usually end up as an egg salad or as a side for my brown-bag lunch. Could I make repeatable, perfect hard-boiled eggs and would it matter what kind of egg I chose?
For the first experiment I chose two packages of extra large eggs – one cage-free, organic and the other generic (I typically cook with large, but I could only find extra large in both kinds). They both had the same “use by date” and were stored in the same manner in my refrigerator.
The cooking procedure I used to cook the eggs is what you will typically find when searching out cooking methods:
Place the eggs in a pan and cover with cold water until submerged by one inch. Place the pan over medium heat and bring to a boil, then cover, turn off the heat and let sit for 18 minutes (or 14 minutes if you have large eggs). Remove the eggs from the pan and submerge in an ice bath until cool (about 5 minutes).
Cooking tips also recommend using older eggs, since they should be easier to peel.
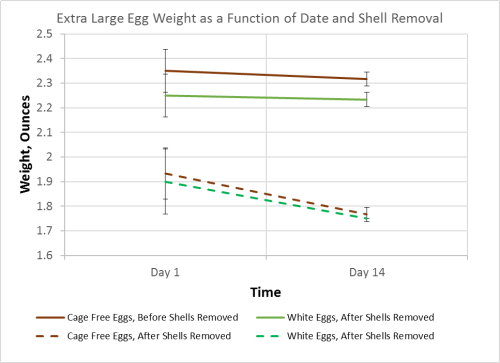
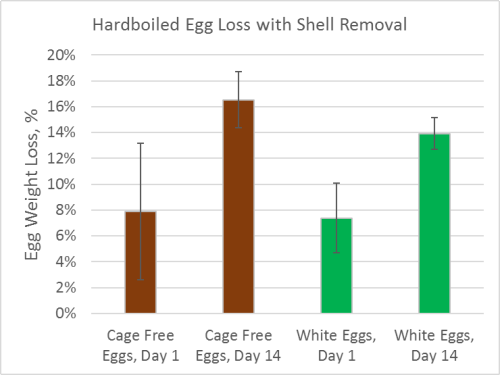
I cooked 3 eggs from each batch at 1 day after purchase and 14 days after purchase using the method described above. I then weighed them before and after my attempt to remove the shell.
Surprisingly, I lost more egg with the shell for both kinds of eggs at the 14 day mark. In addition, with my accuracy (and the accuracy of my scale which is ~0.05 oz) there was no statistical difference between the two kinds of eggs with respect to ease of removing the shell. Hmm. Back to the drawing board.
In my review of all sorts of tips on hard boiled eggs, one tidbit listed in the 2014 July/August Cook’s Illustrated stuck in my head – the low pH of the white part results in it sticking tightly to the shell. Perhaps if I played with the pH of the water used to cook the eggs my results would be different?
One of the first examples of a recipe that uses a pH-altering ingredient was Ken’s Perfect Hard Boiled Eggs on allrecipes.com. Admittedly, using vinegar is the wrong direction in pH according to Cook’s Illustrated, but I was intrigued since the addition of vinegar is often used in poaching eggs to help the whites set quickly.
I followed his recipe to a T (with the addition of step “0”found in the comments to bring the eggs to room temperature first), this time using large eggs, and I was stunned. It actually DID work perfectly. Both the cage-free and the generic eggs were easy to peel, and I was able to remove the shell without taking any of the egg with it. By freeing the shells without any added weight from the egg whites, I was able to solve one of my other questions – are the cage-free egg shells thicker? With my limited sample size it appears that the cage-free egg shells are ~25% heavier (which I equate to mean they are thicker).
Since I achieved perfect shell removal with Ken’s recipe I haven’t tried raising the pH to see if that works just as well. But why does Ken’s method work? My guess (which is just a guess since I don’t have the funds to add a scanning electron microscope or a pH meter to my kitchen gear) is:
- The addition of the salt causes microcracks in the shell. I noticed that at the end of cooking the outer layer of the brown, cage-free eggs was rubbing off and floating in the water. This allows a small amount of water and vinegar to penetrate the shell.
- The small amount of water that enters creates a barrier between the egg and shell, making it easier to remove
- The vinegar that does enter the shell helps to firm up the egg whites, minimizing damage to the egg whites when you remove the shell
Now that I finally have a fool proof method for hard boiled eggs worthy for use as deviled eggs, I am able to create a deviled egg recipe.
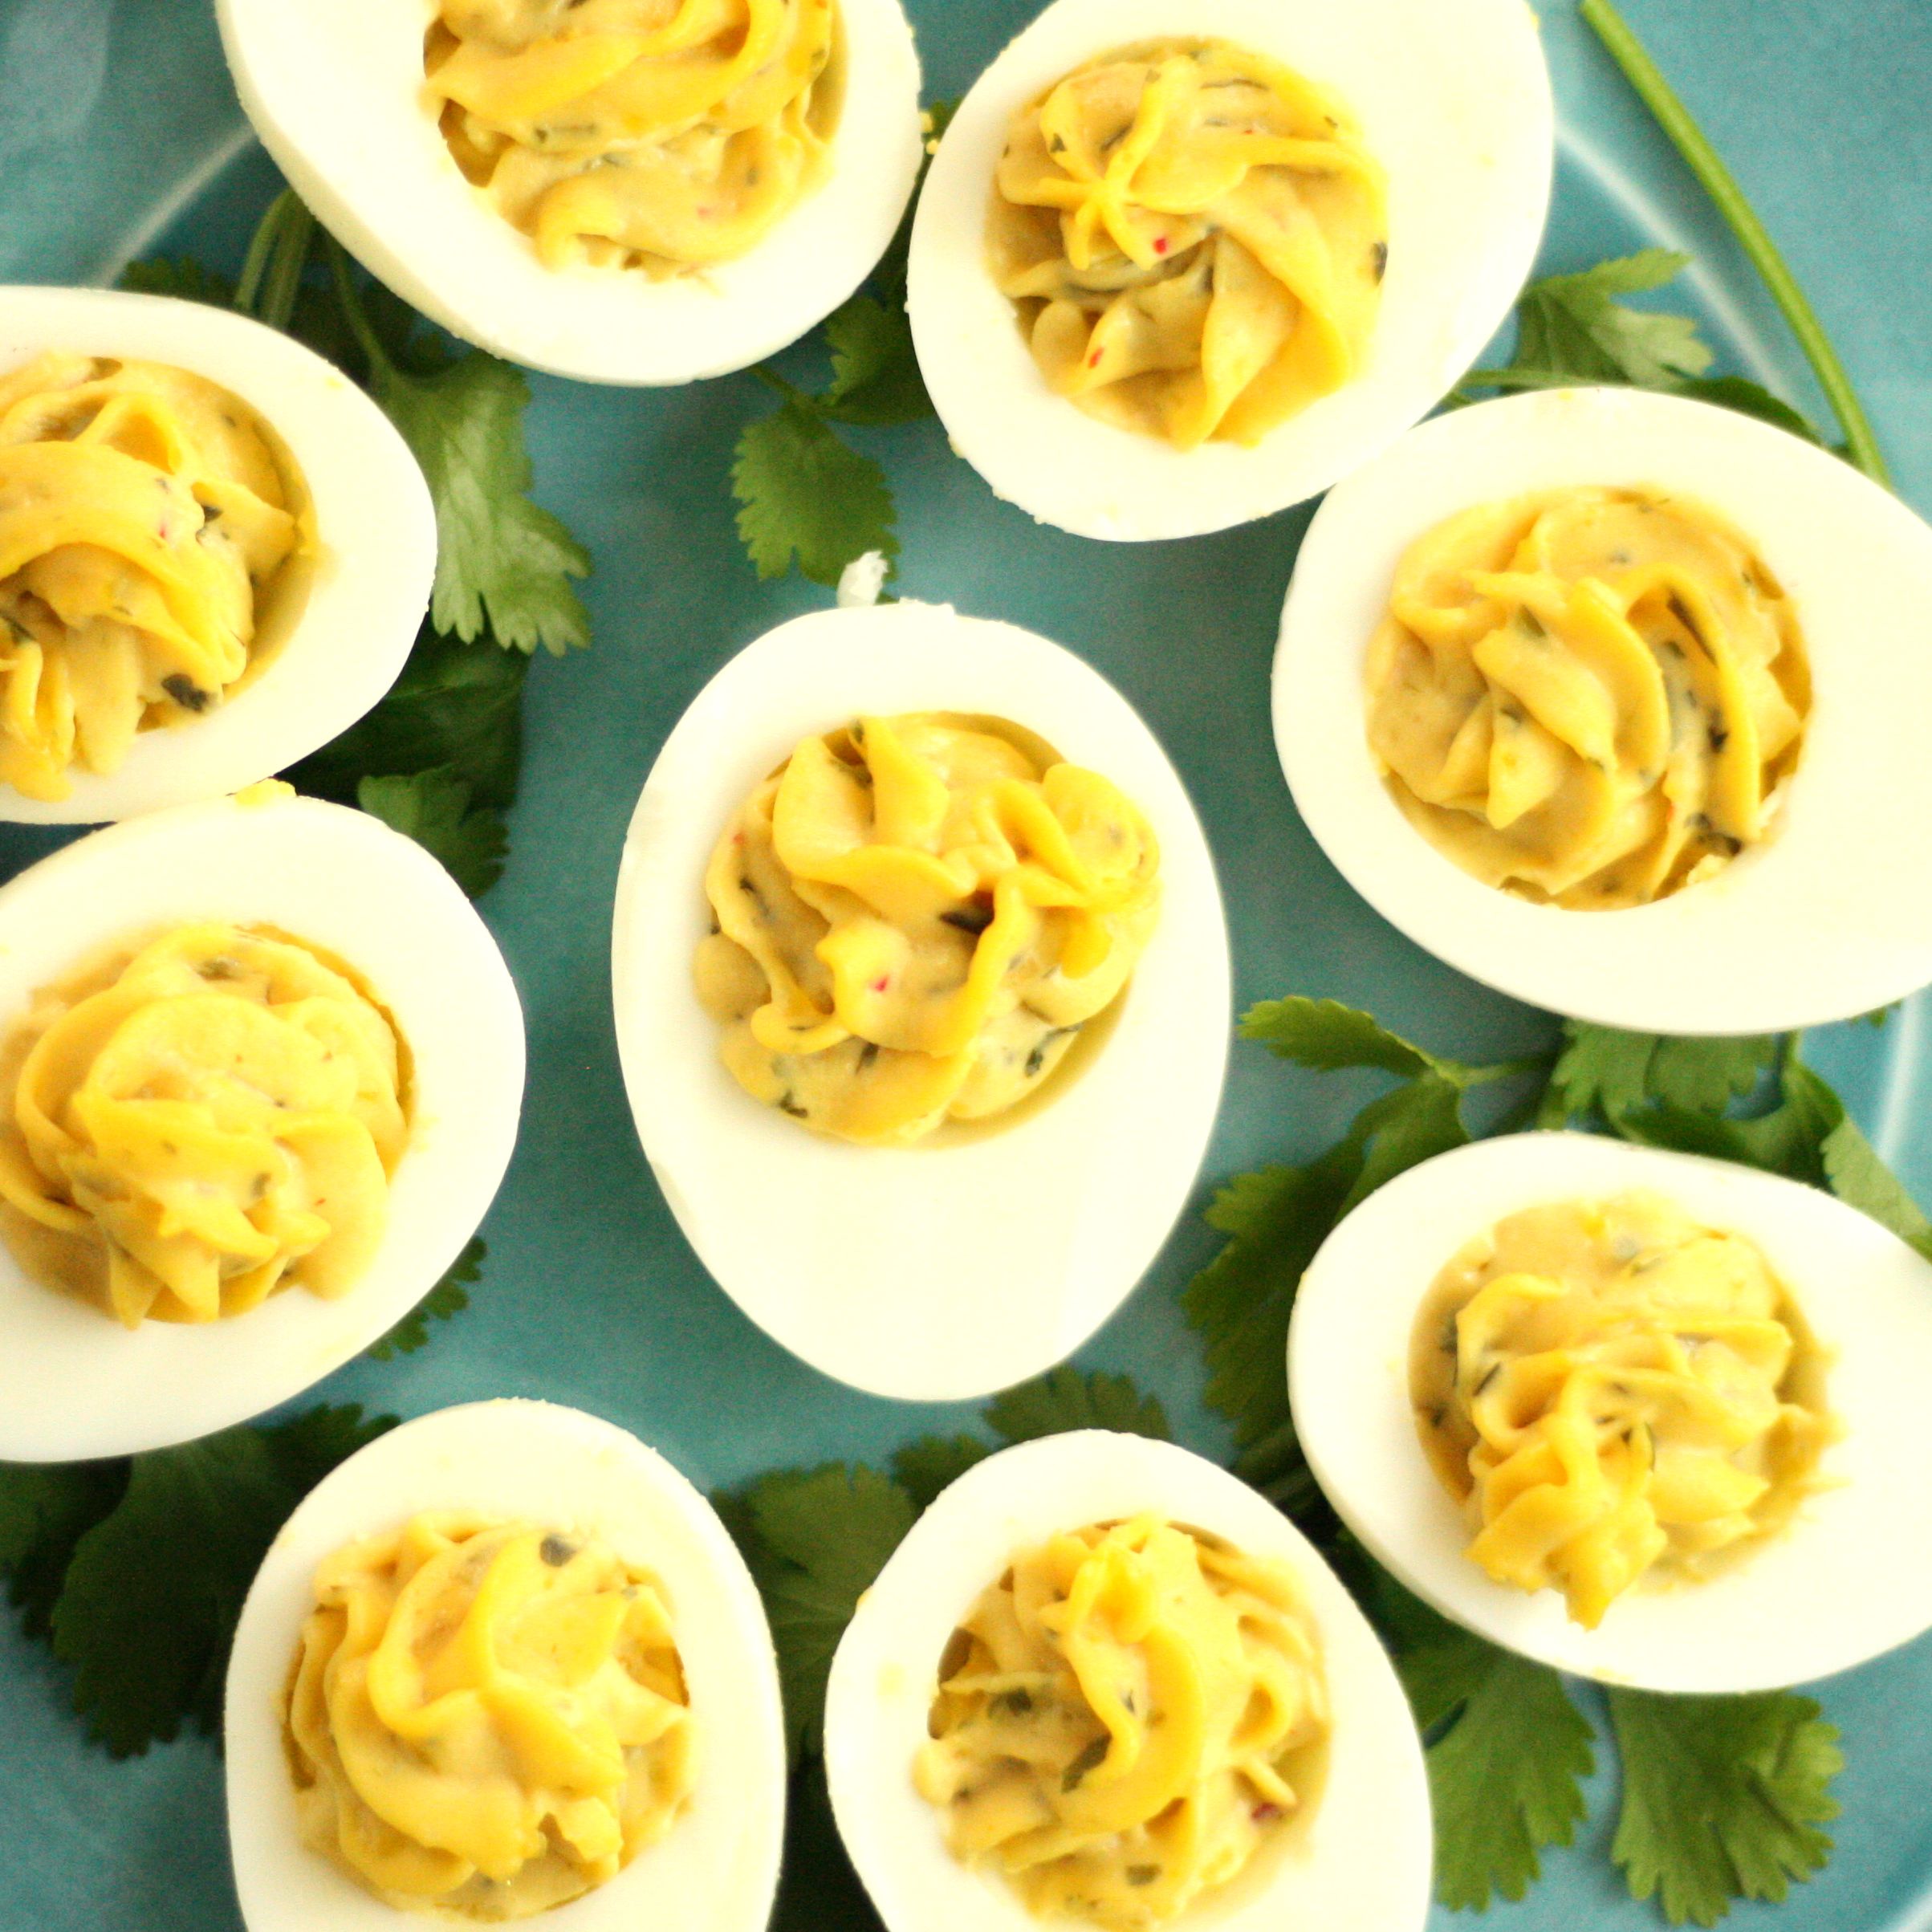
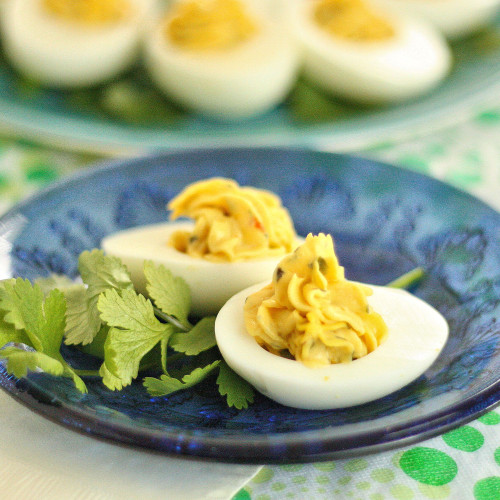
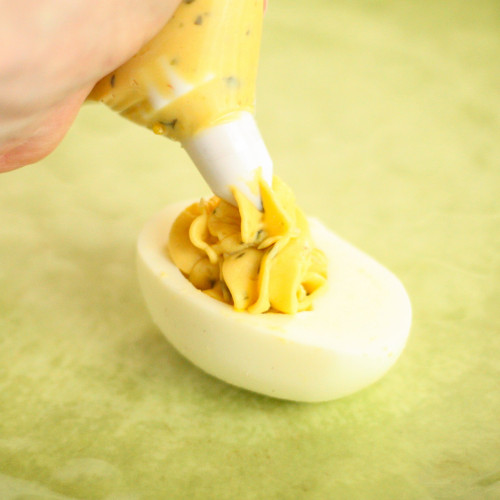
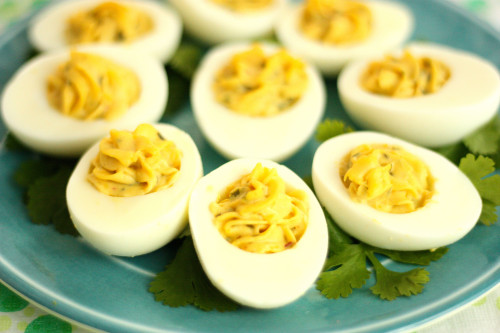
After all the hard work experimenting, I kept the recipe simple and made Thai Deviled Eggs. I mixed the yolks from six hard boiled, large eggs with a bit of mayonnaise and a thai herb blend of lemon grass, ginger and cilantro. The smooth yolks was piped back into the whites, and my thai deviled eggs were done!
As a final note, while Ken’s method makes perfect hard boiled eggs for deviling, I prefer the classical method described at the beginning of my post for eggs salads since it produces a softer consistency egg white.
Thai Deviled Eggs
6 large eggs
6 cups water
1 tablespoon salt
¼ cup white vinegar
¼ cup mayonnaise
1/8 cup thai herb blend
Bring the eggs to room temperature (at least 45 minutes). Combine the salt, vinegar, and water in a large pot, and bring to a boil over high heat. Add the eggs one at a time, being careful not to crack them. Reduce the heat to a gentle boil, and cook for 14 minutes.
Once the eggs have cooked, remove them from the hot water, and place into a container of ice water and chill for 15 minutes.
Remove the shells from the eggs and discard. Cut the eggs in half lengthwise and remove the yolks. Place the yolks in a medium sized bowl and mash, then stir in the mayonnaise and thai blend. Evenly pipe the yolk filling back into the egg whites and store the deviled eggs in the refrigerator until ready to serve.
(1429)
