
A few months back, my husband challenged me to create a great tasting yet low-fat salad dressing. Of course, I accepted the challenge and came up with this Pear Vinaigrette. For my attempt I wanted to try to avoid the typical thickeners of xanthan gum or guar gum. What I turned to instead…
Tag: experiment
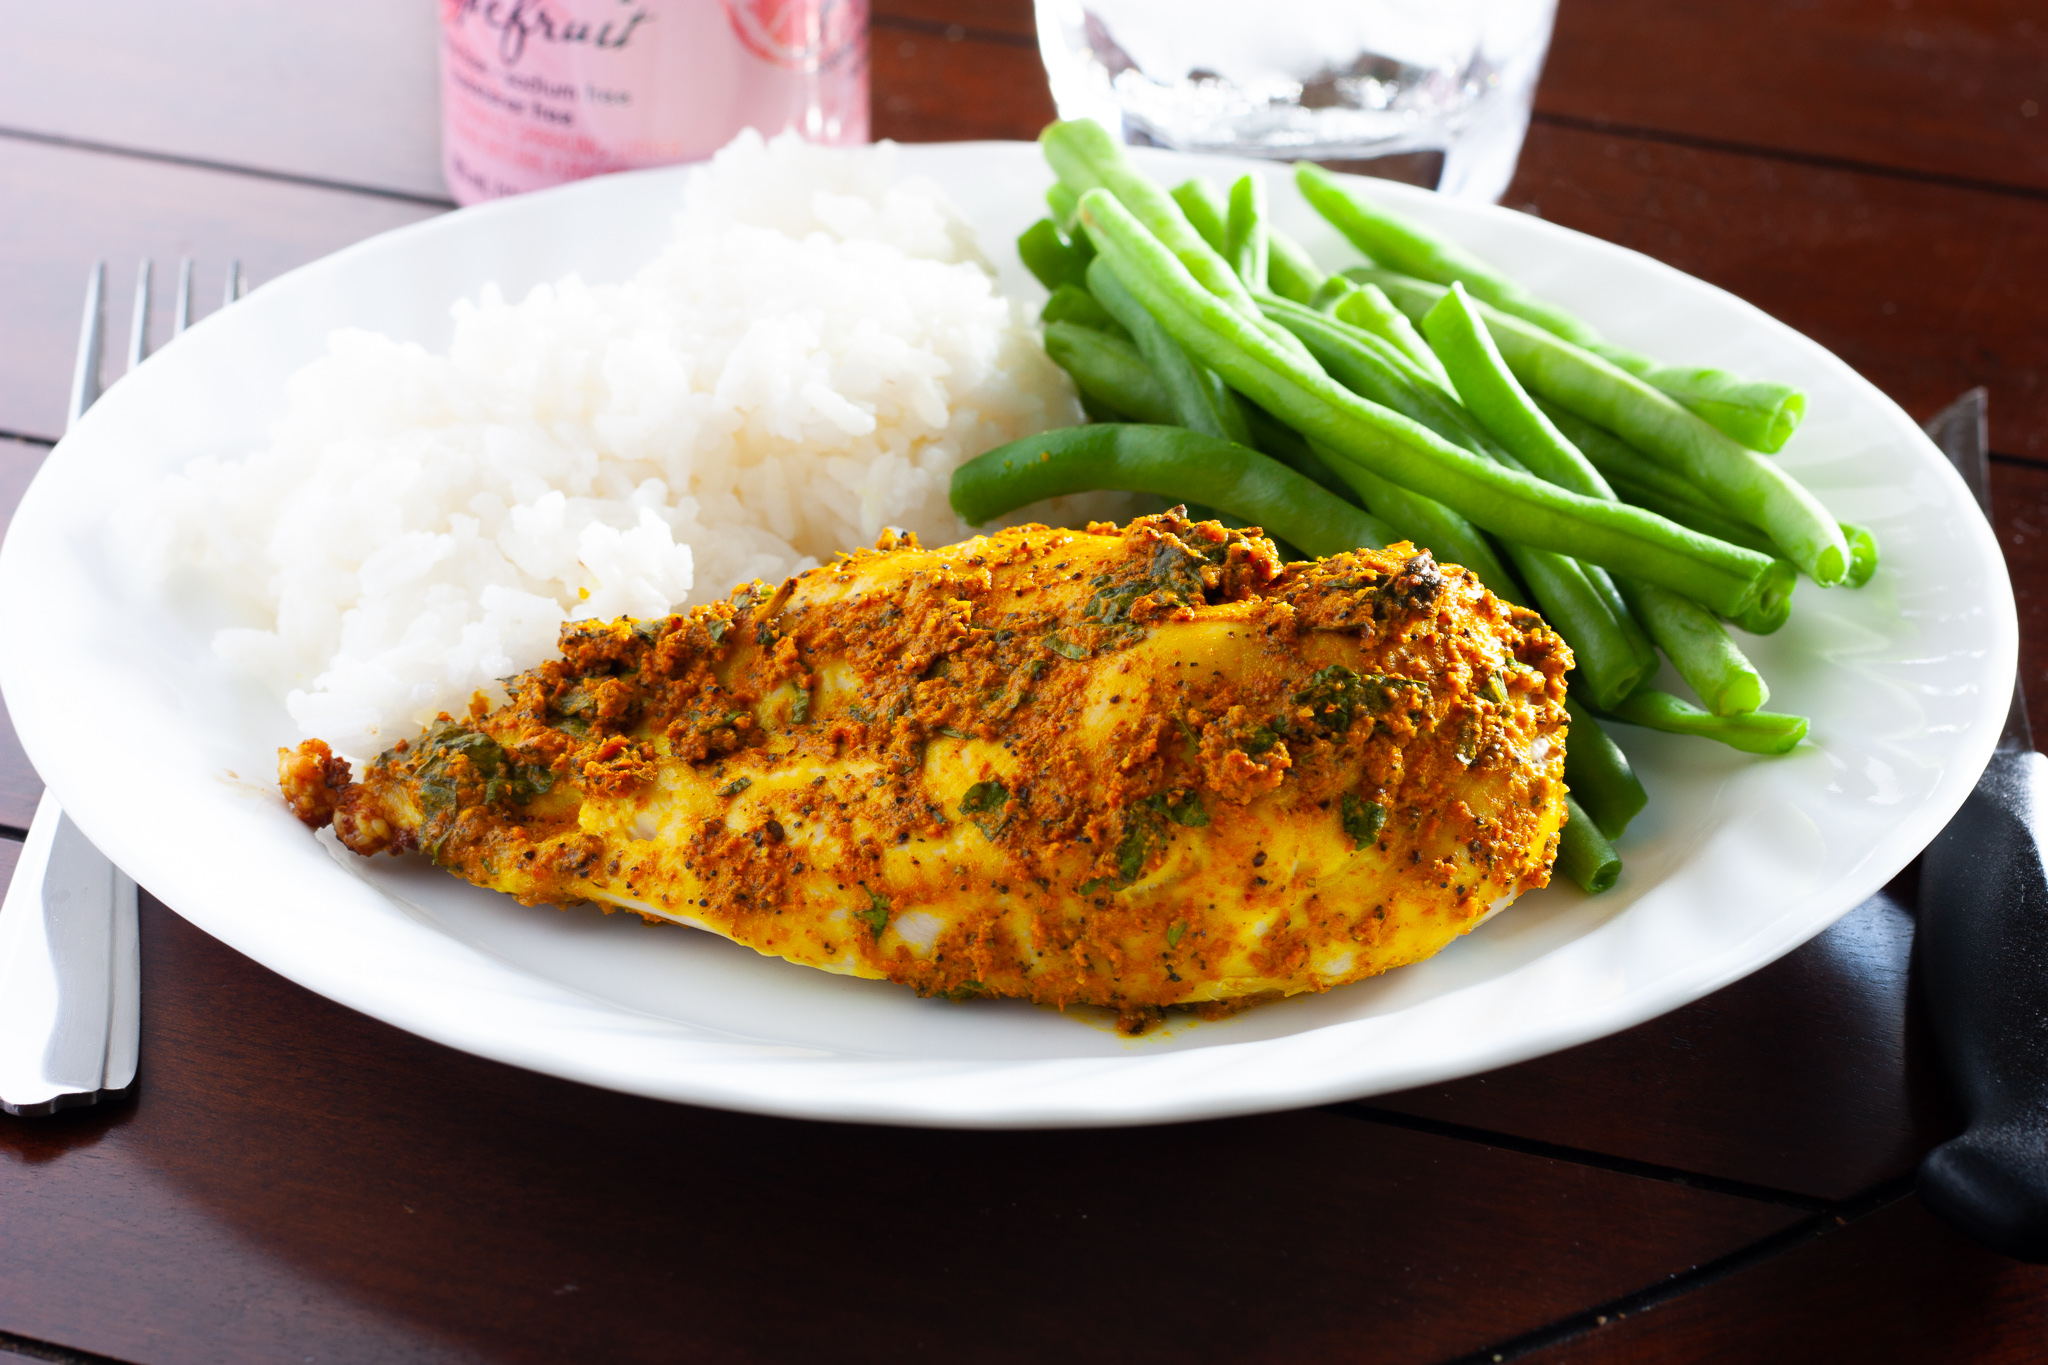
Parsley & Turmeric Chicken
In the May issue of Better Homes & Gardens there was a method of cooking chicken that intrigued me – baking chicken starting from a cold oven. The magazine article was adamant that the result was perfectly cooked, tender chicken. Since I am currently living in an apartment without a grill, I thought…
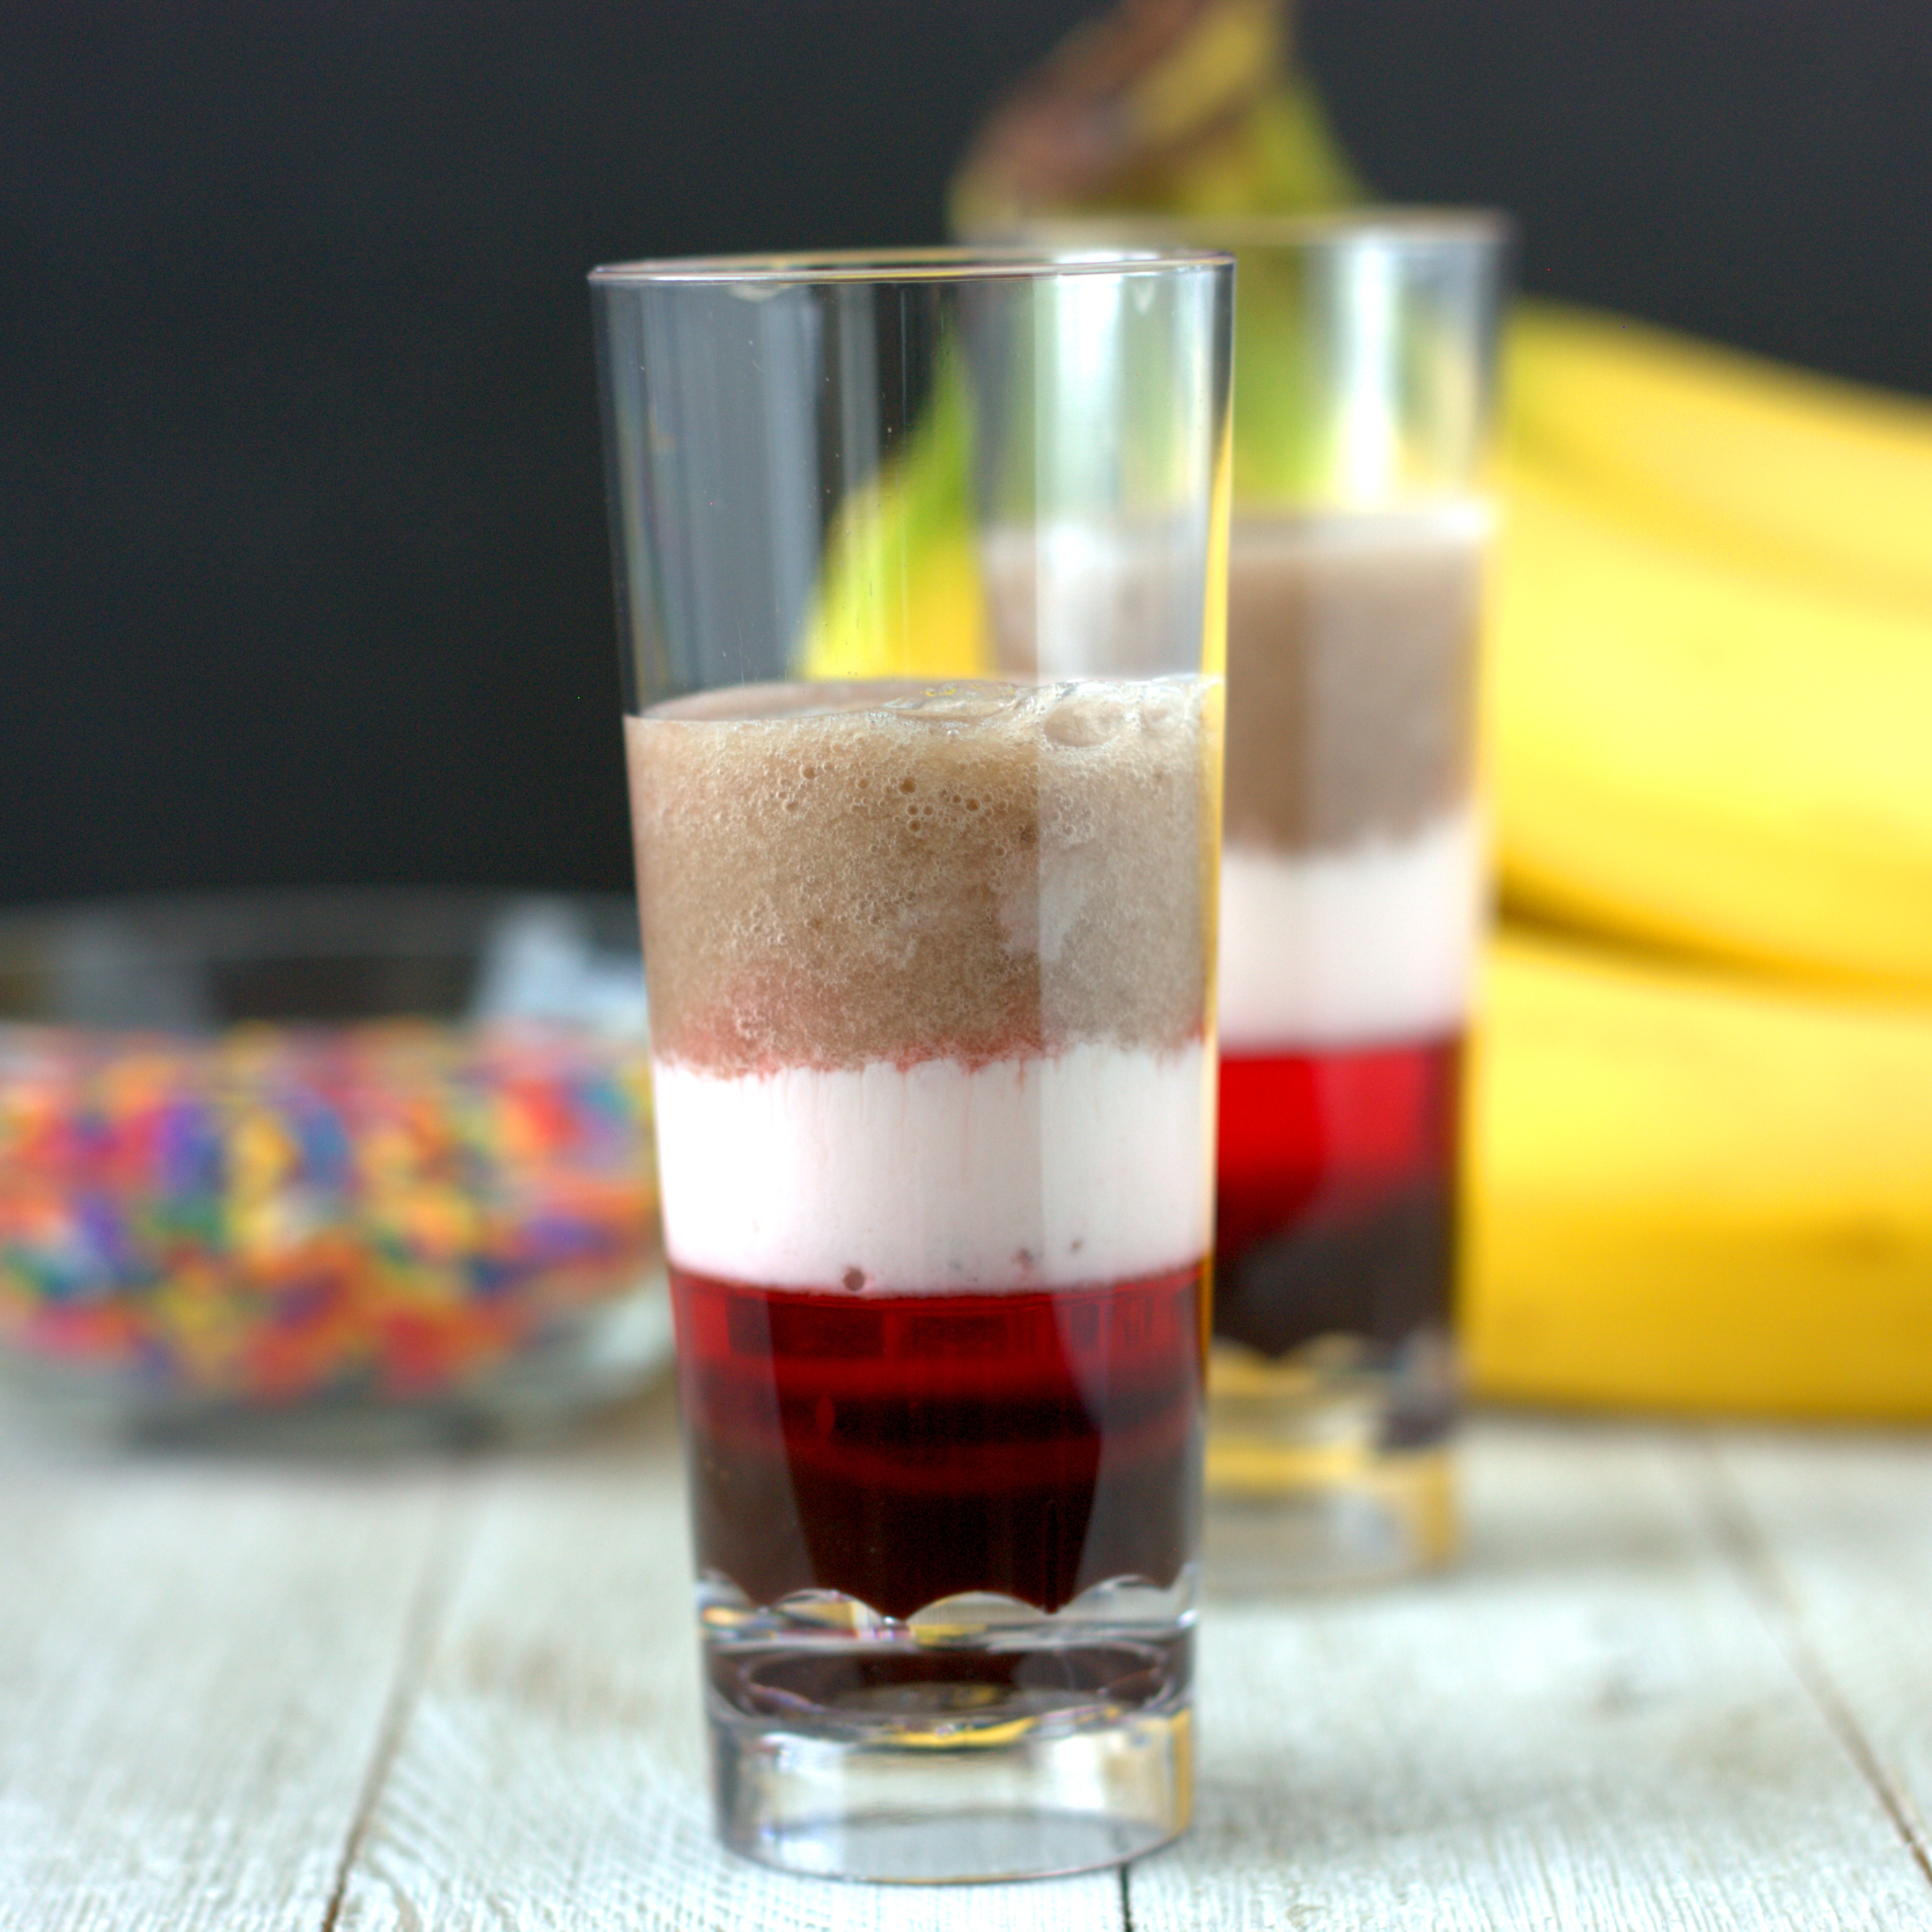
Banana Split Layer Drink
With the start of the school year comes the flurry of science fair projects. While my kids are too little to participate, my daughter is enamored with science and knows I love it too. She even bought me a kitchen science kit for Christmas (I guess you could say she knows me pretty…
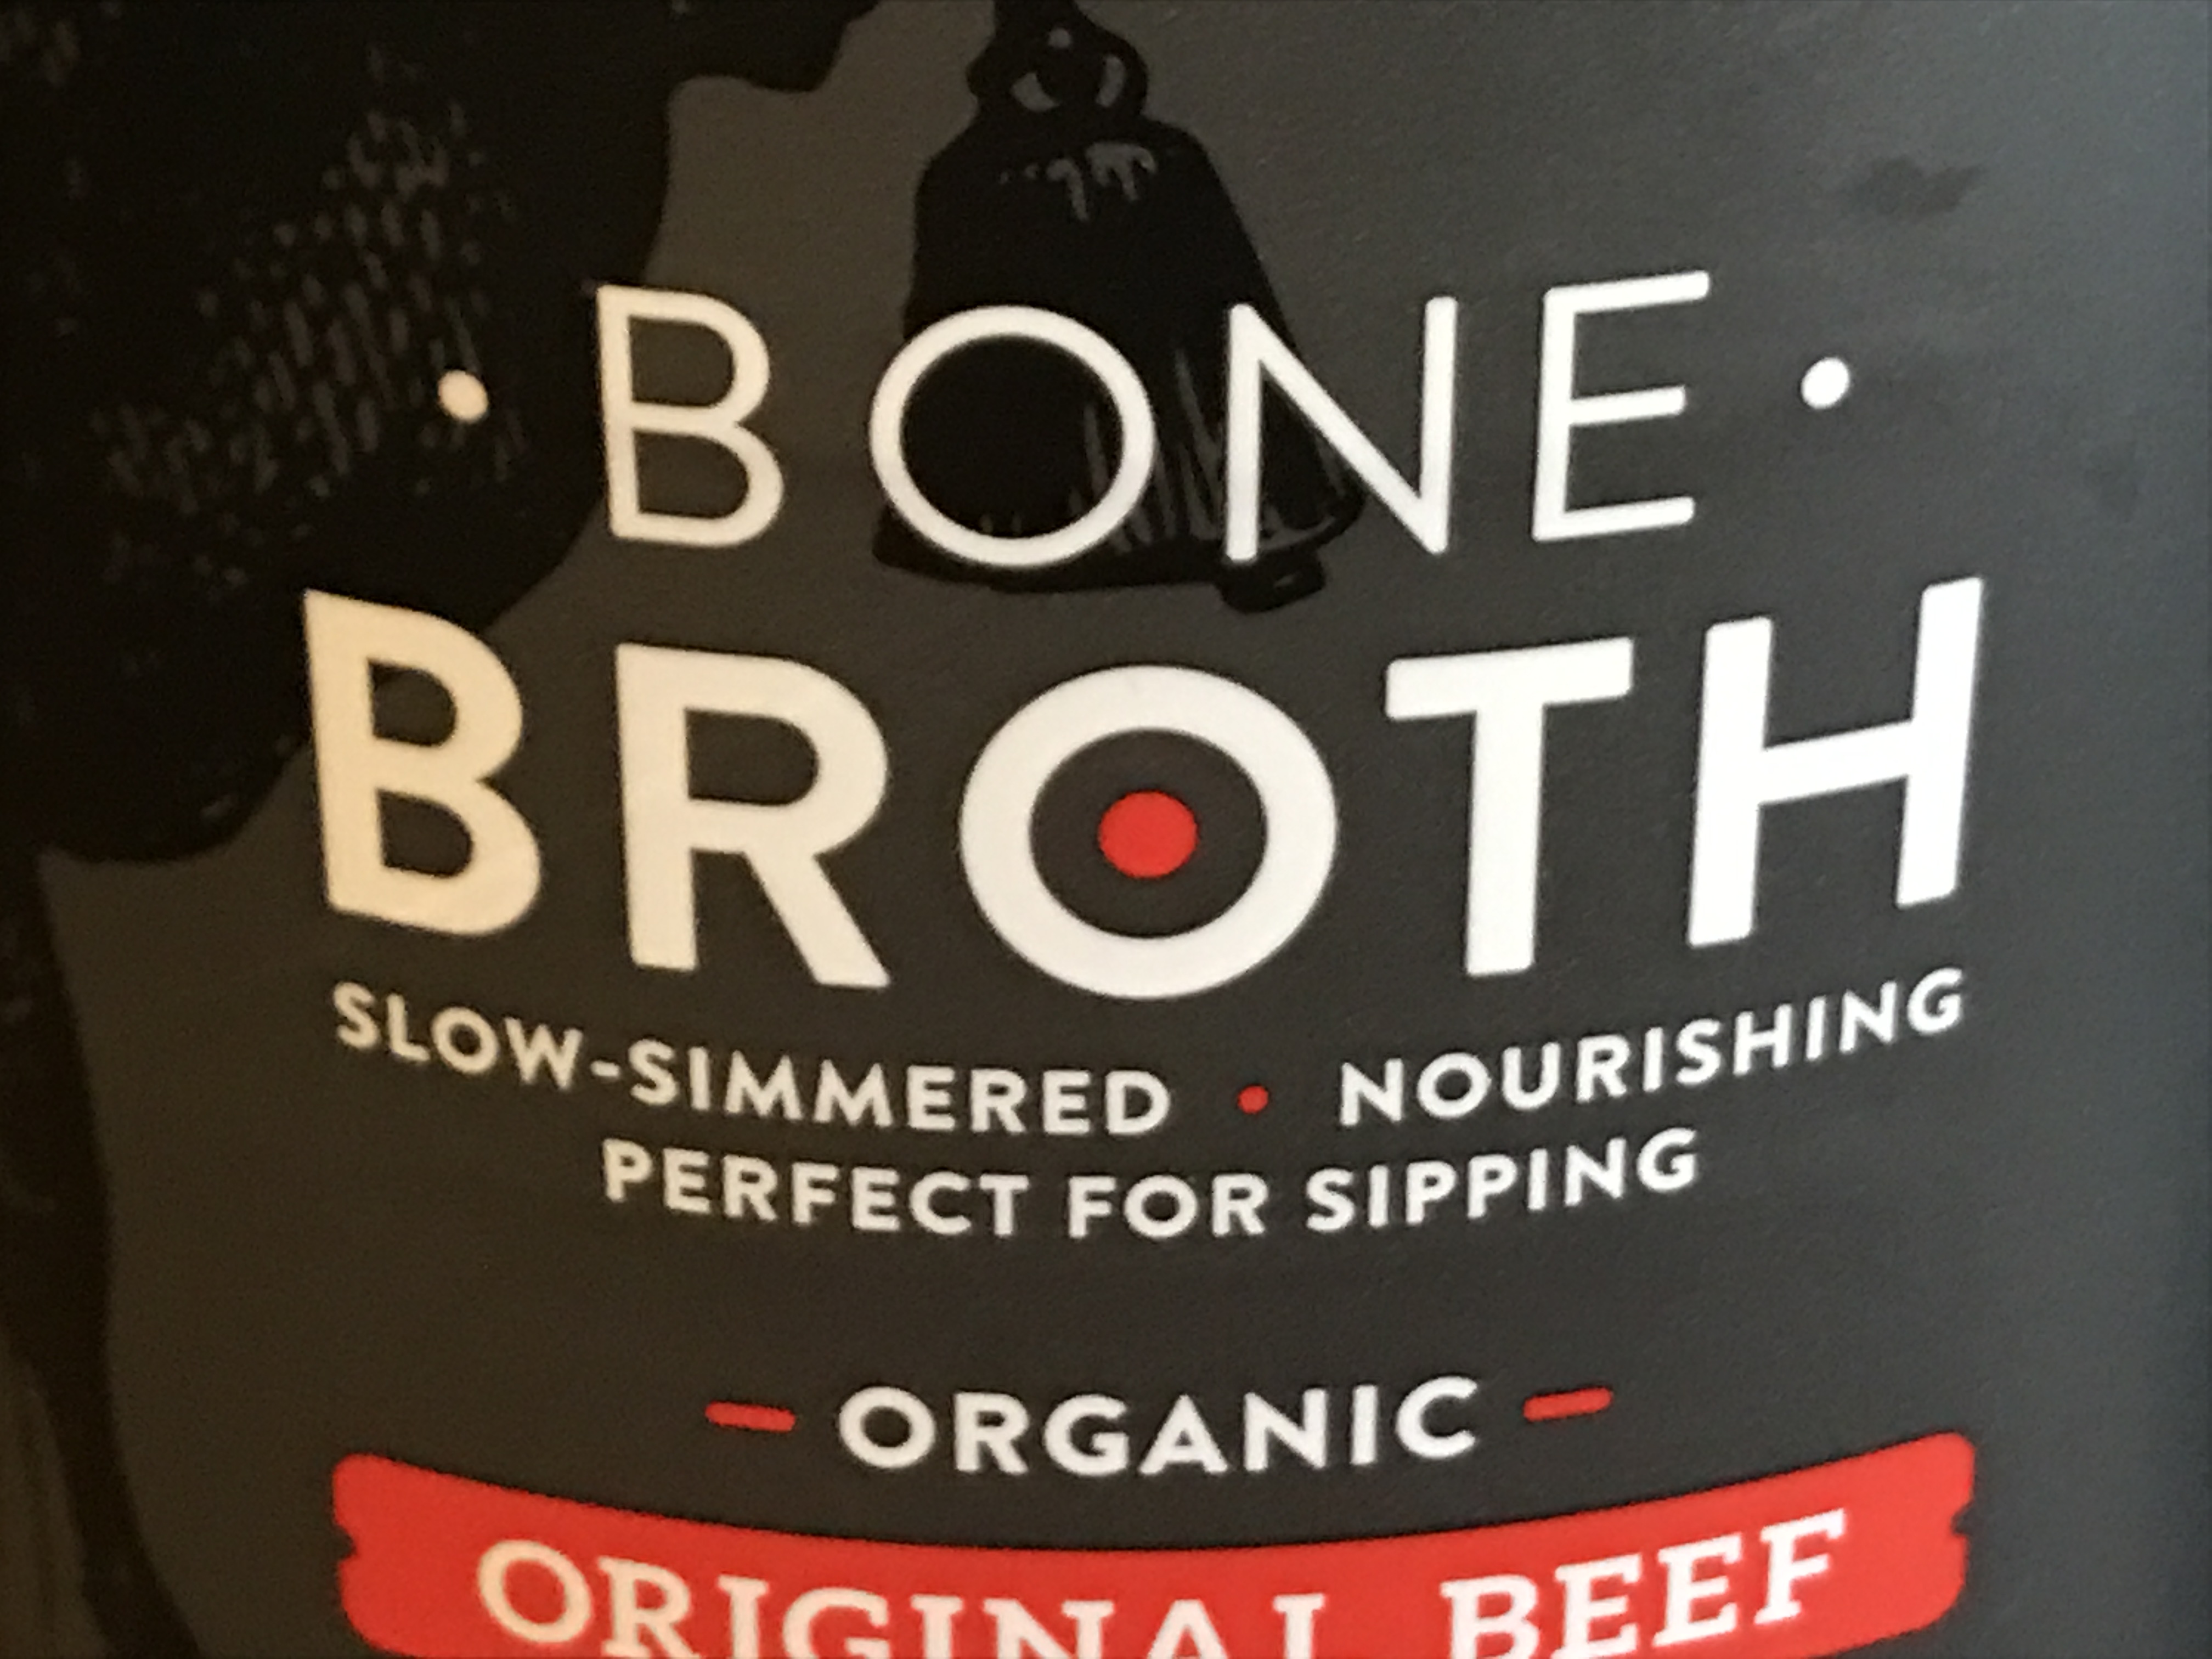
Bone Broth Experiment
Bone broth is one of the “it” food items these days. This nutrient dense stock is praised for its vitamin and mineral content thought to improve health. I figured I’d give it a try and incorporate the bone broth into a soup. I’m sorry folks, but I didn’t like the taste. In addition, for the soup…
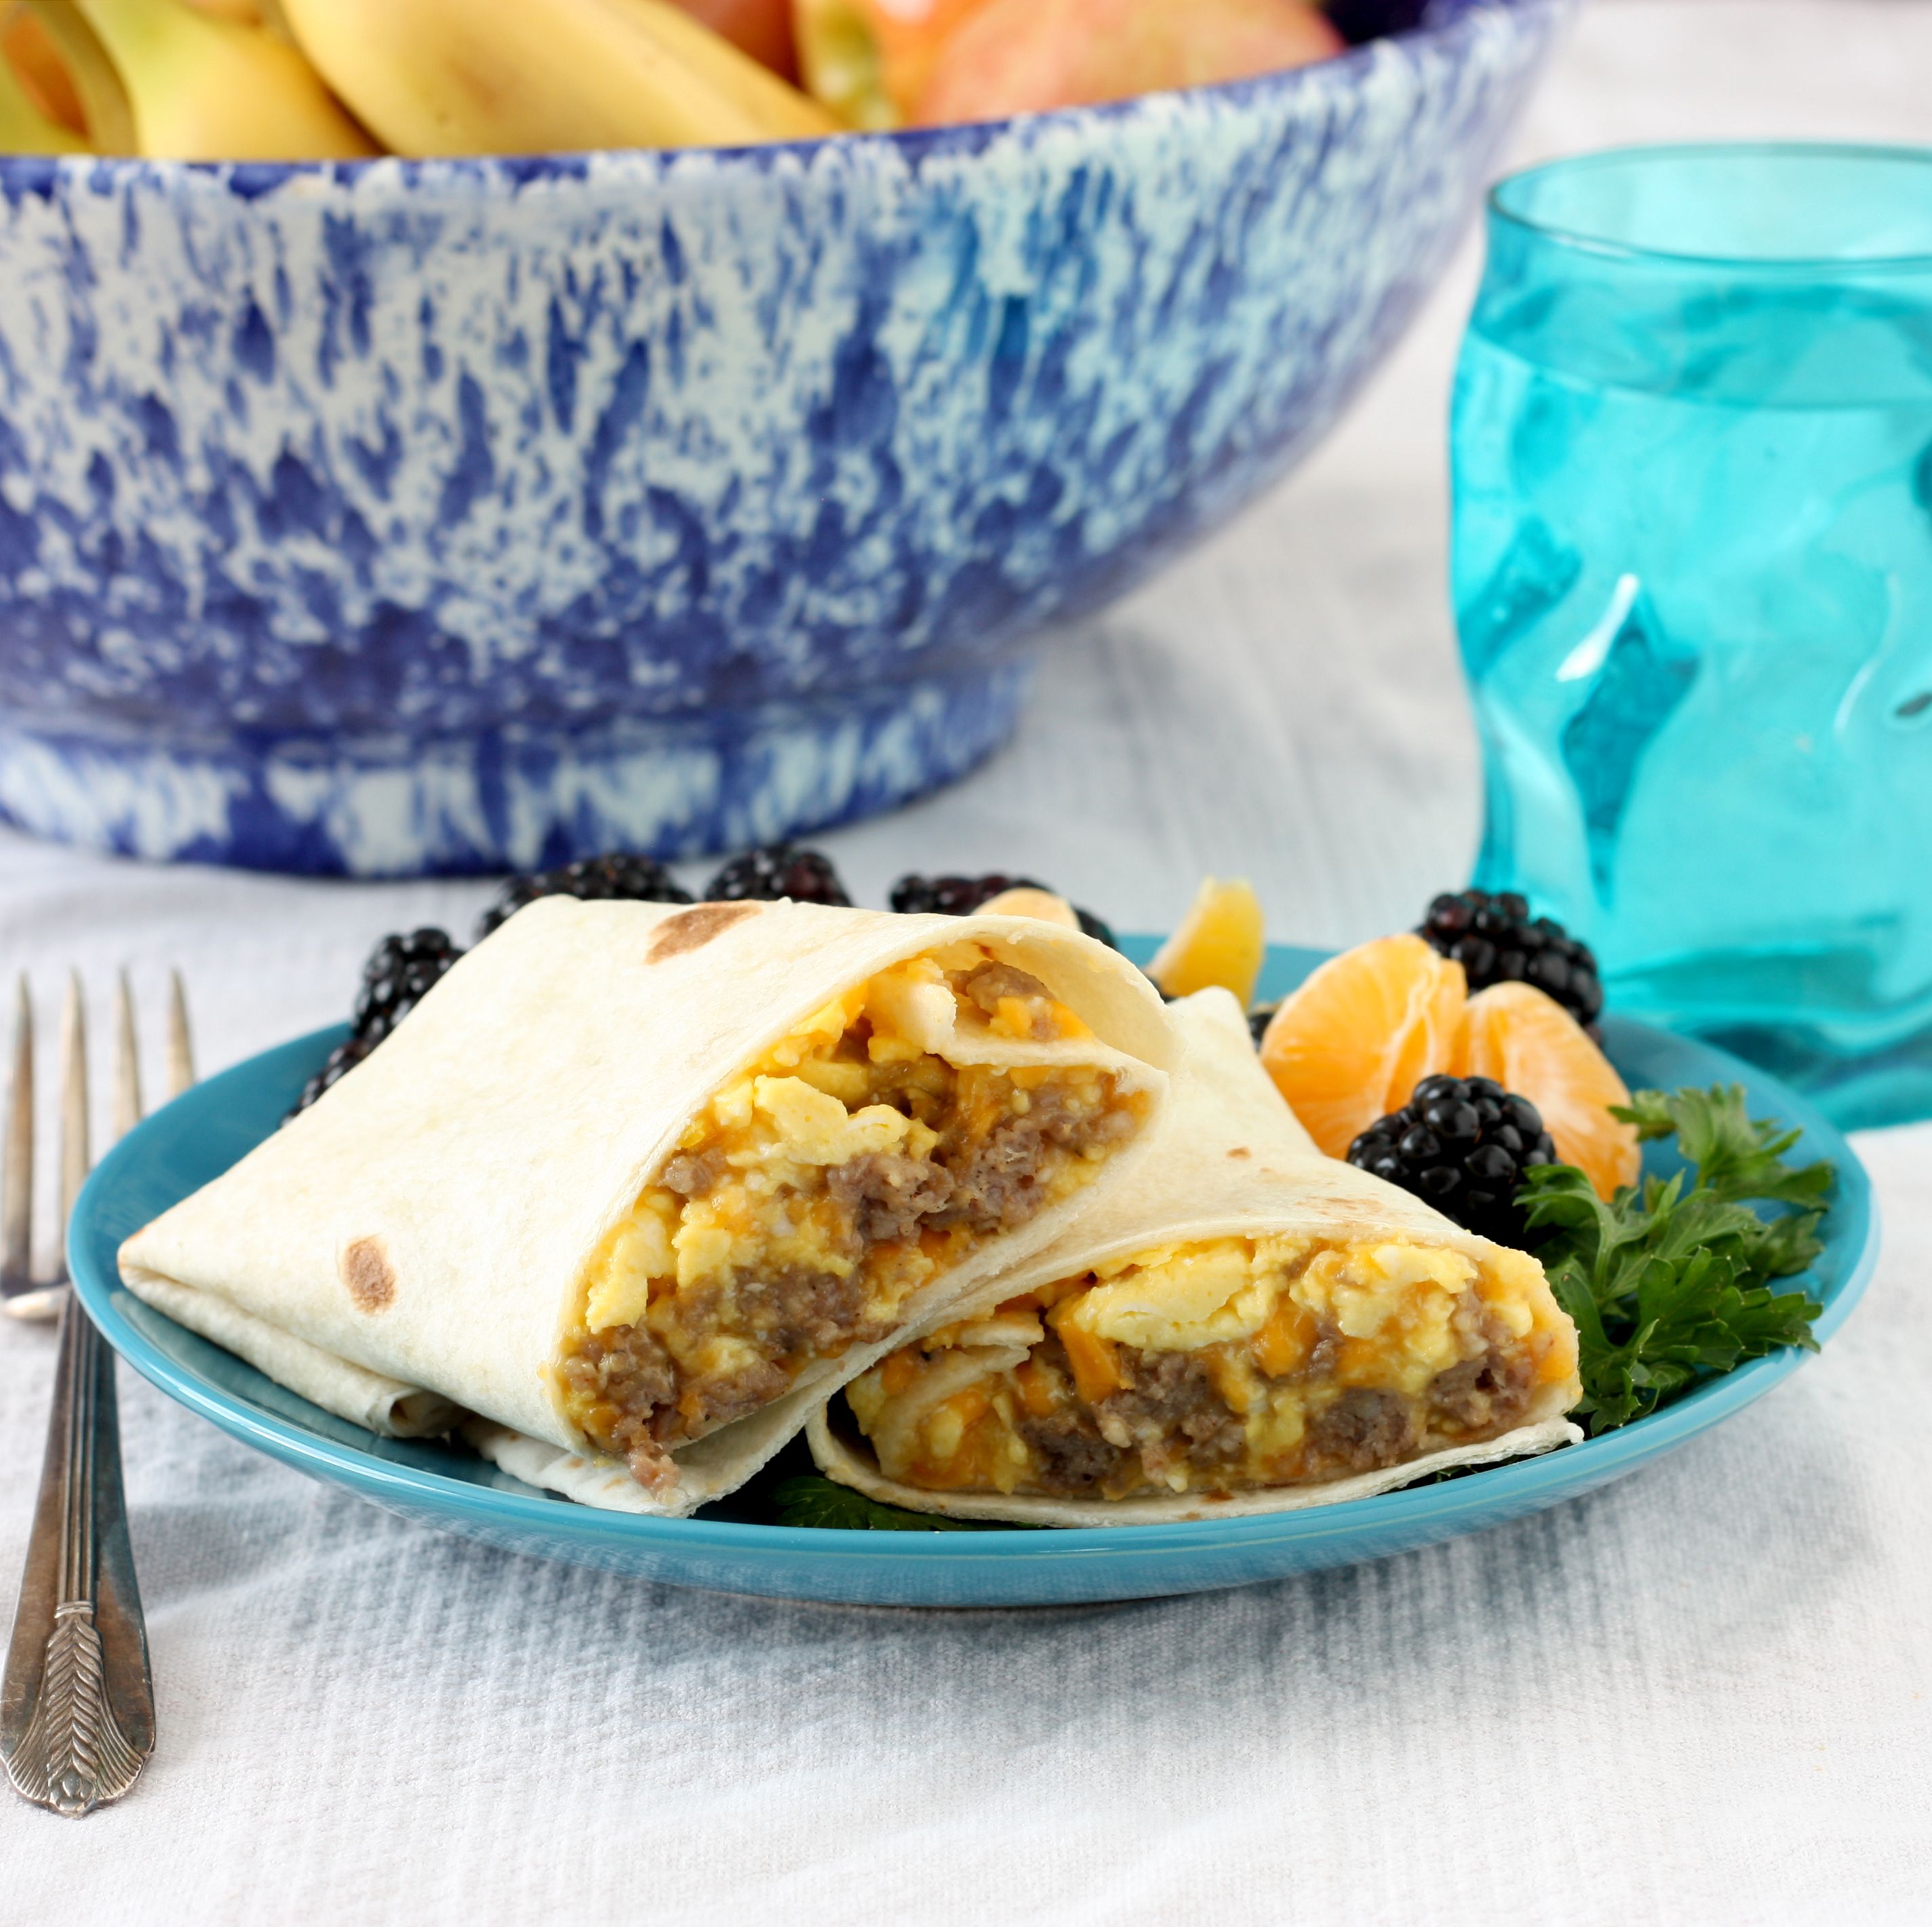
Make Ahead Breakfast Burritos
A few weeks back a friend asked me if you can freeze cooked eggs. Even though cooking eggs usually doesn’t take too long, there are those mornings when you are running a bit late but you don’t want to scrimp on breakfast. I told her I’d do some experimenting (and a bit of…